

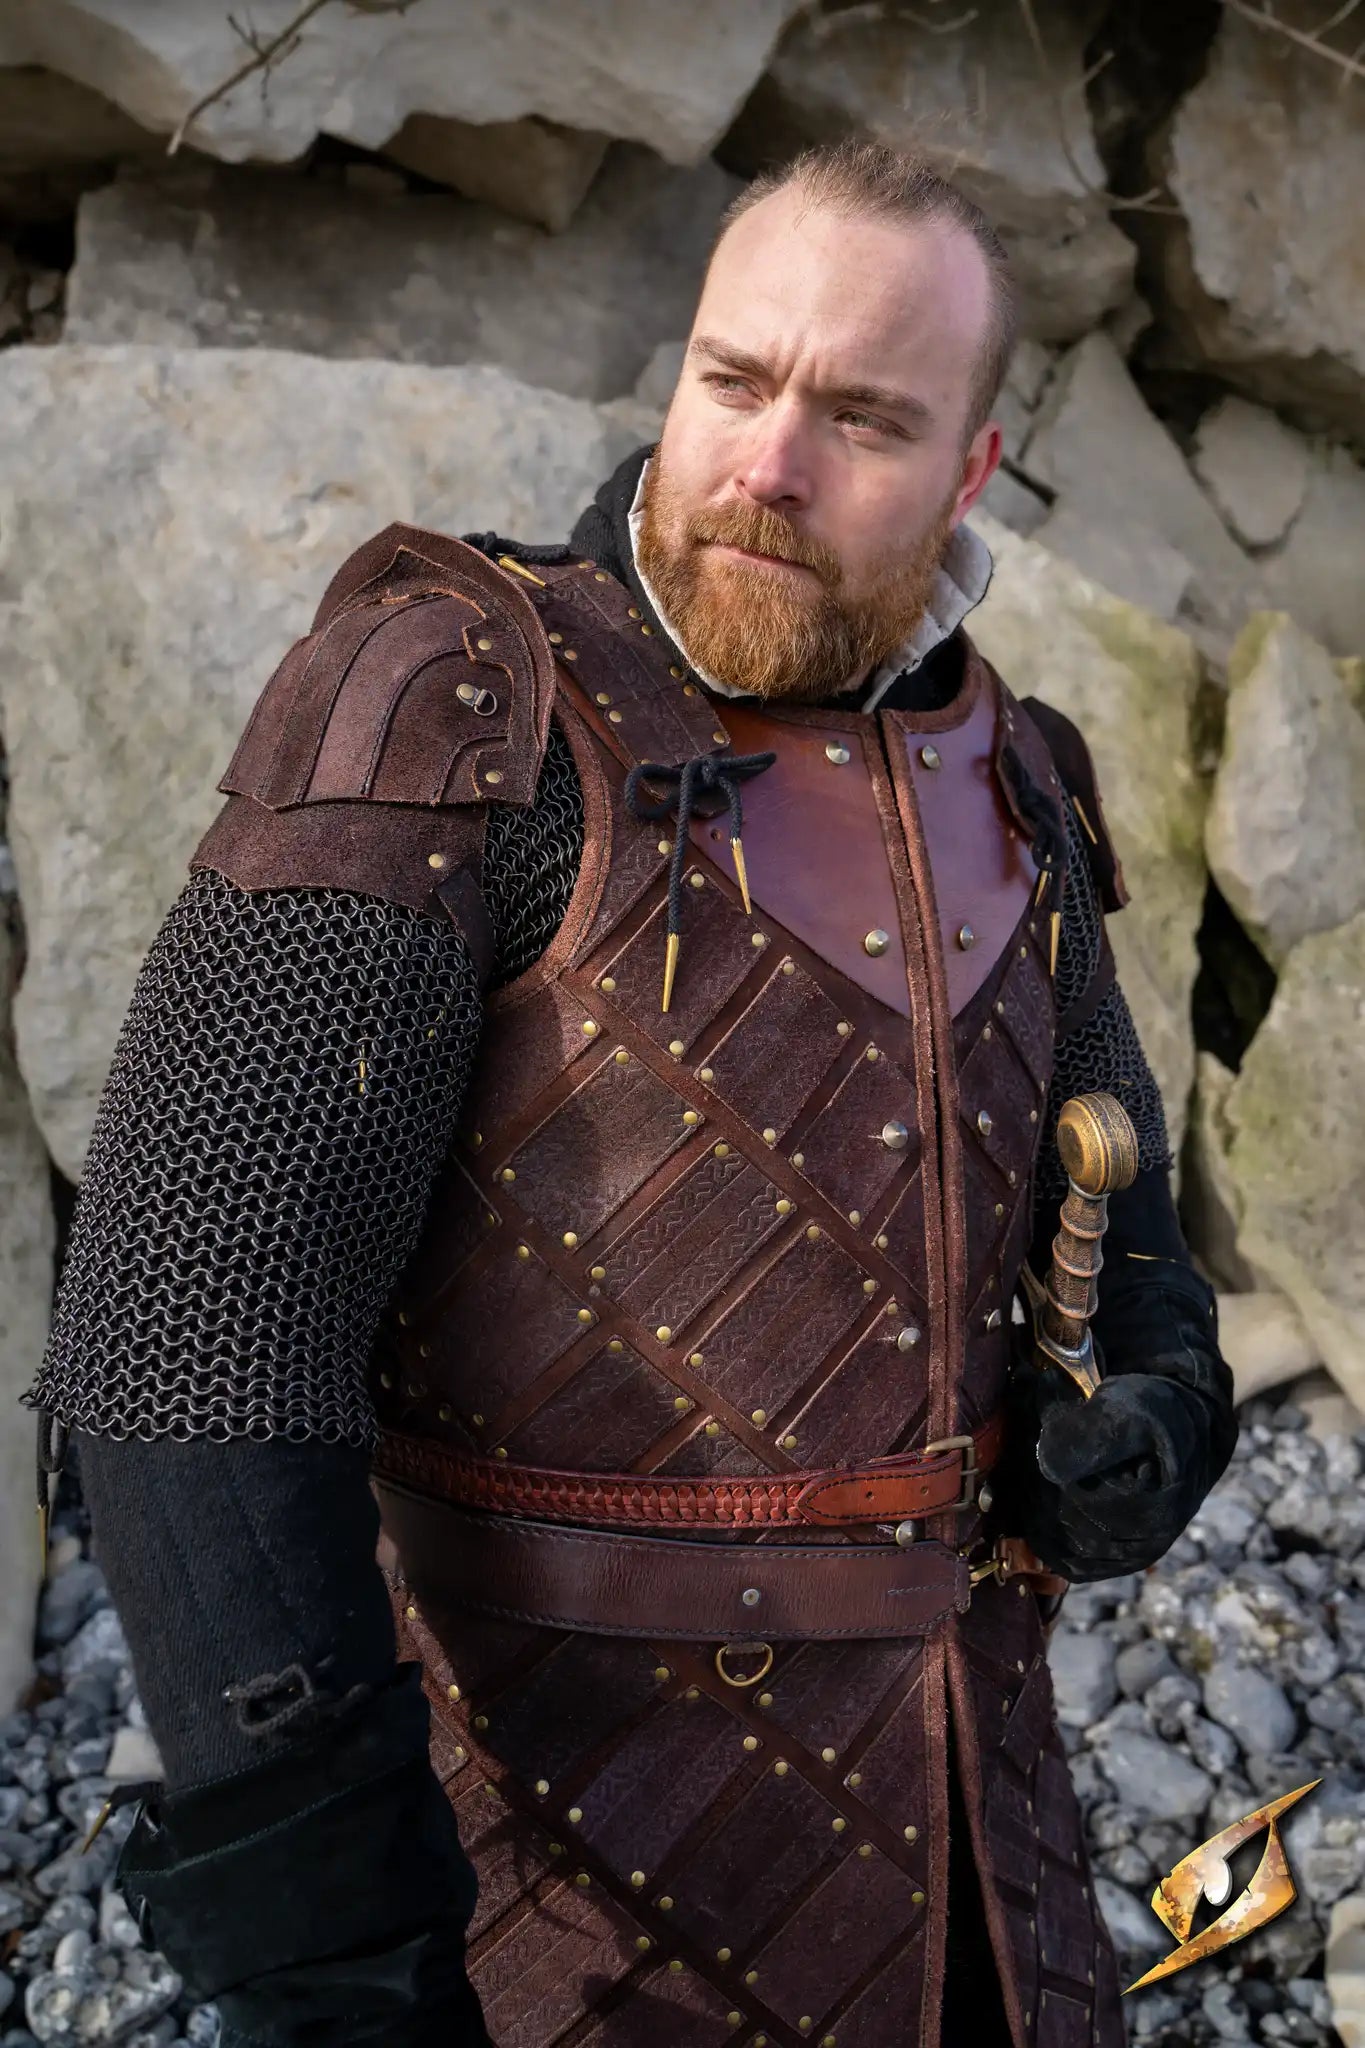
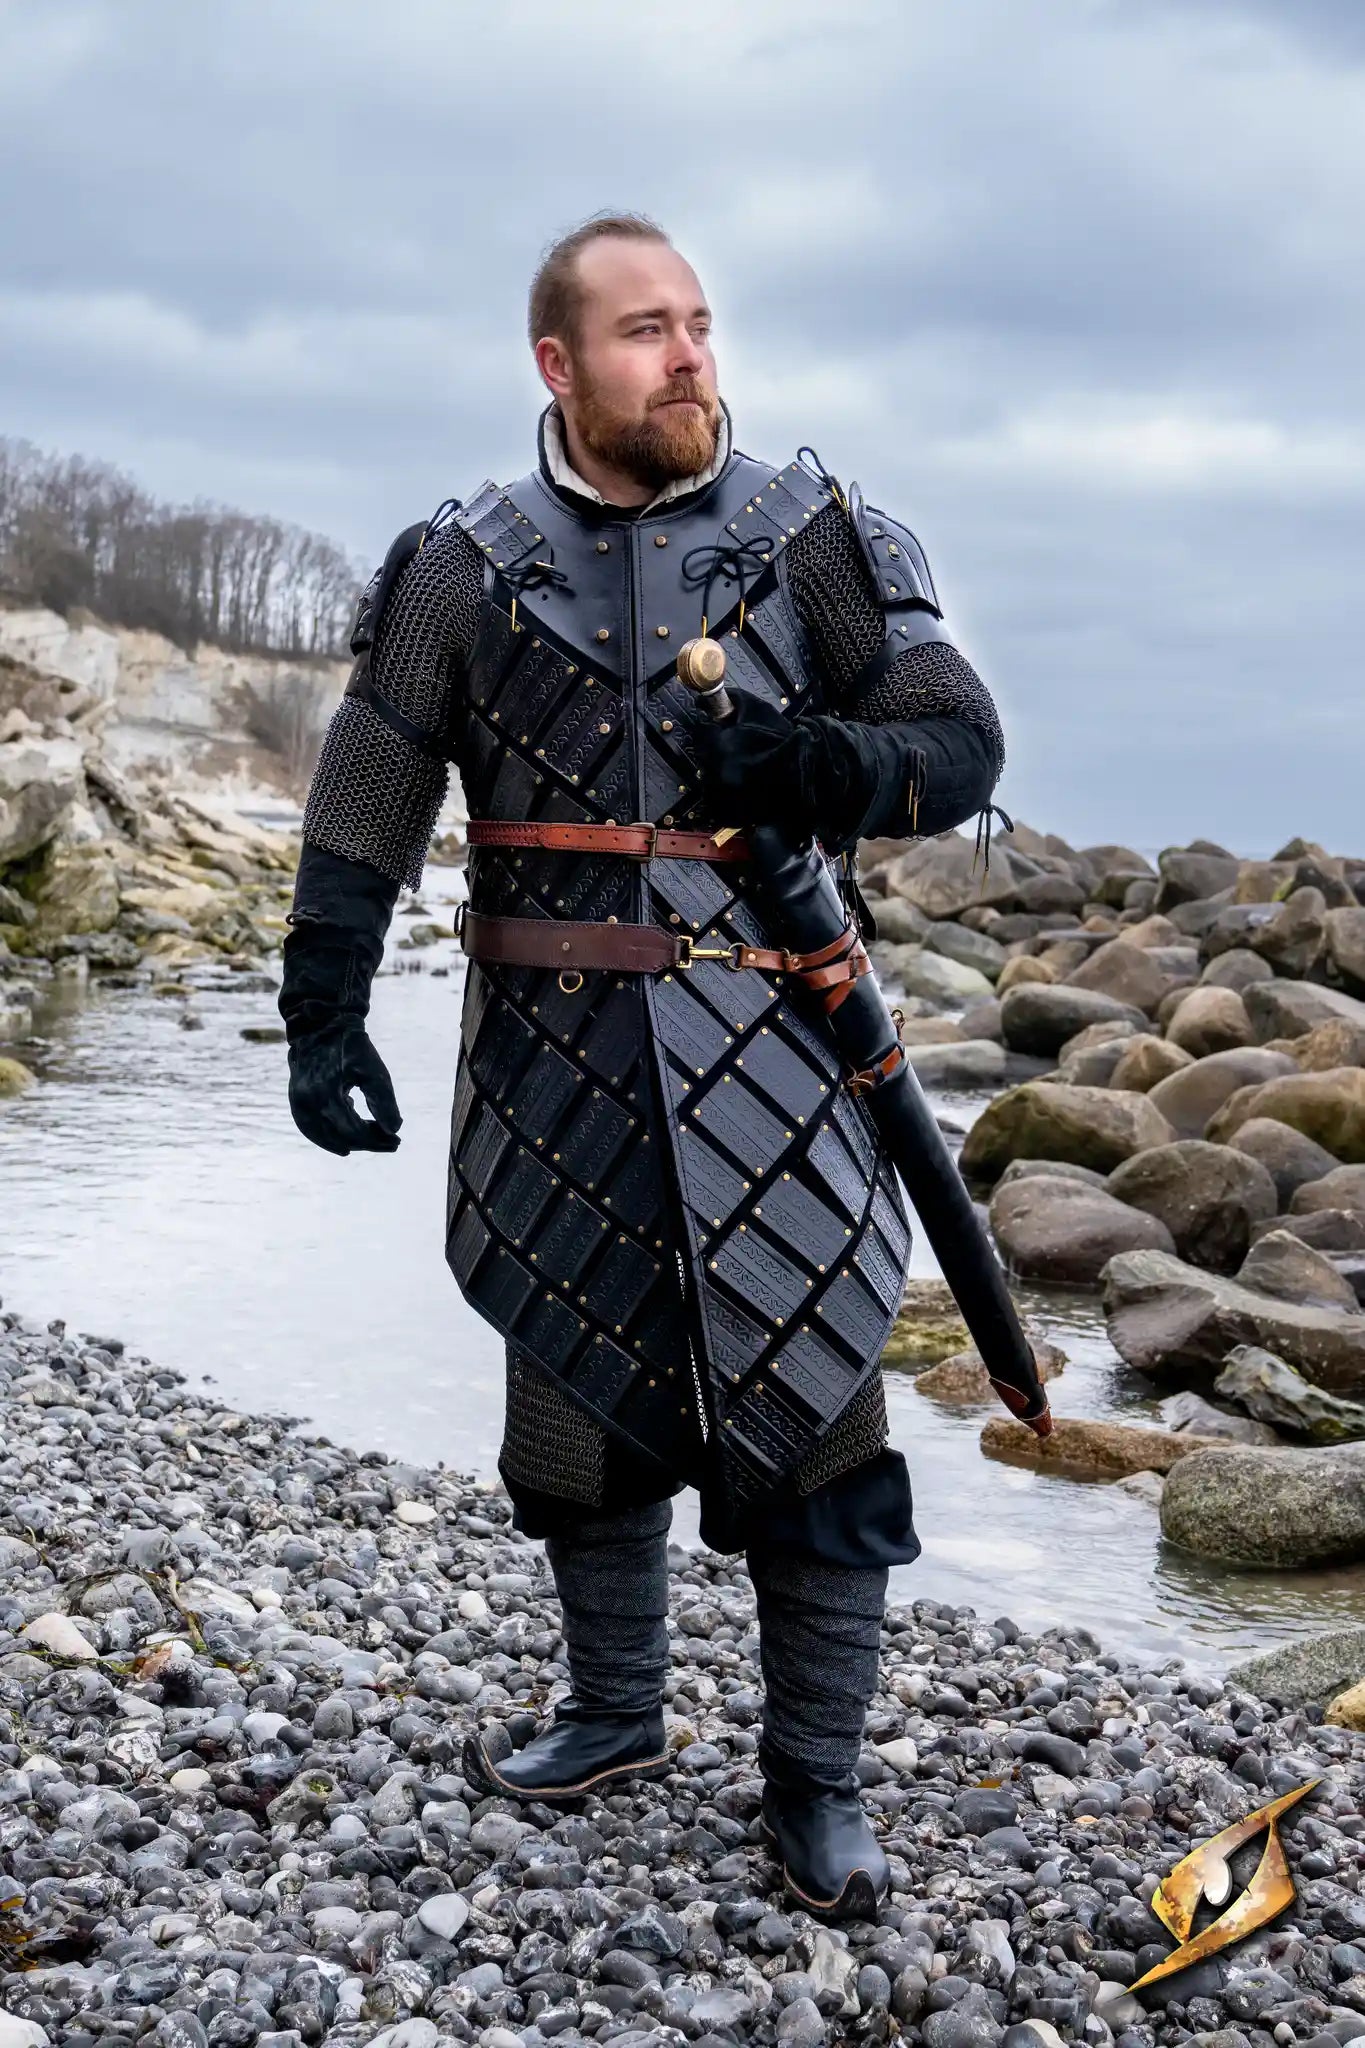
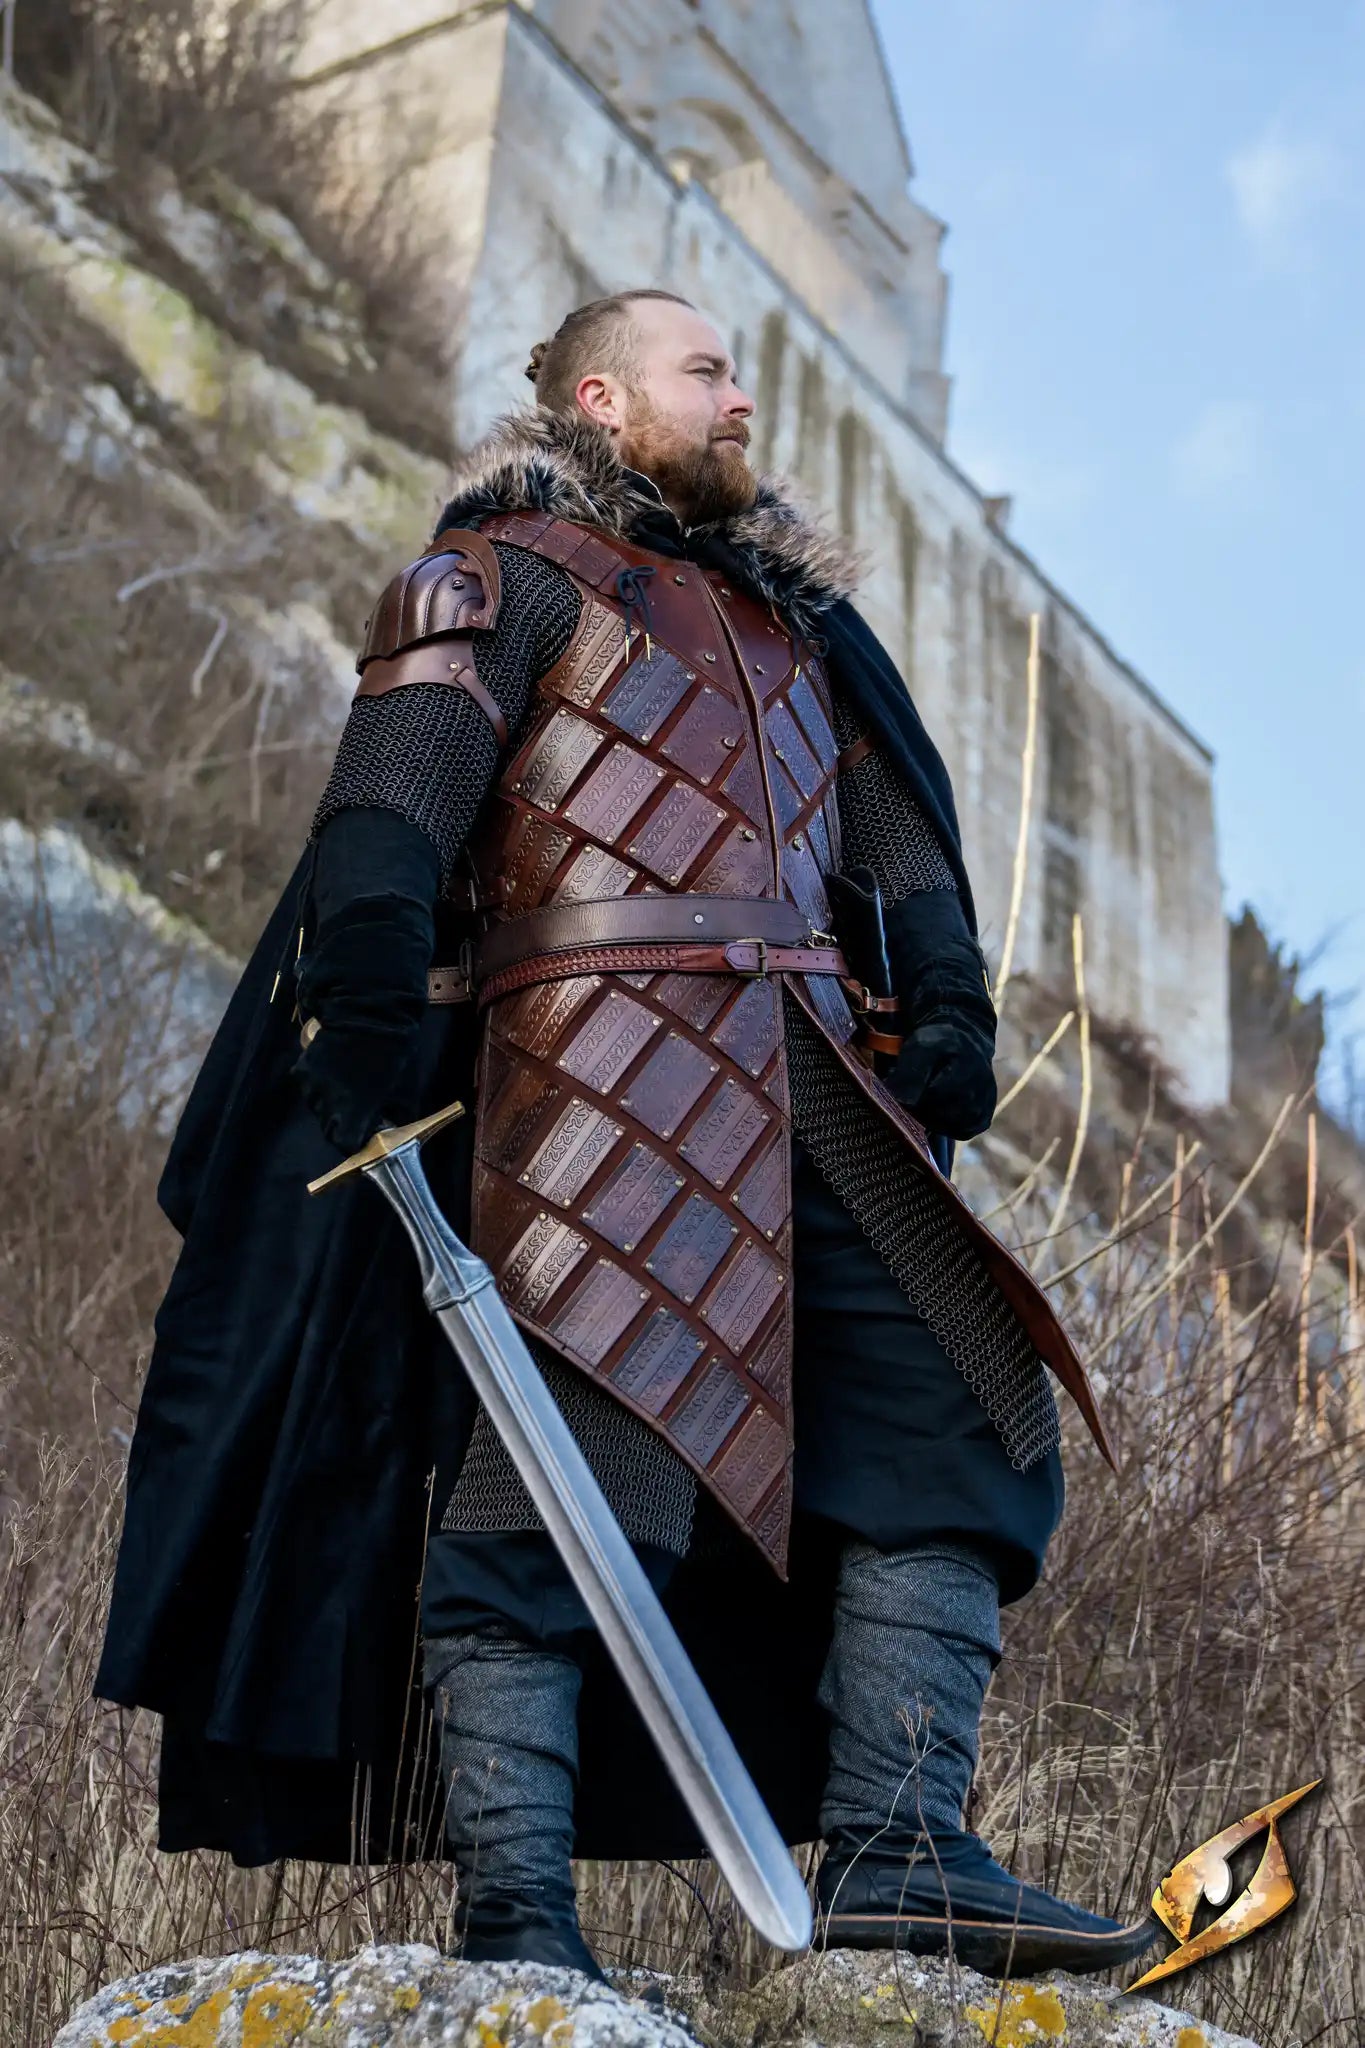
Weathering & Aging Leather Armor
Adding age and wear to leather armor can create a sense of realism, making it look well-used in battles or adventures. Follow these steps to antique leather pieces for film, cosplay, or LARP events.
A step-by-step guide
These techniques transform new leather into battle-worn armor with character, perfect for creating realistic, aged leather for your next role or event.
Step 1: Preparation
Gather Materials: Have your leather armor, 180-grit sandpaper, antiquing gel, a clean paper towel, black gloss acrylic paint, a sturdy knife, light-colored paint, leather thread and needle, and 80-grit sandpaper ready.
Prepare the Armor: Clean the leather surface to remove any oils or coatings that might prevent materials from sticking.
Step 2: Adding Dirt and Grime
Sandpaper Scuffing: Use 180-grit sandpaper on lower areas where grime would naturally settle. Sanding these areas removes some finish, allowing stains and paints to absorb better.
Antiquing Gel: Wearing gloves, apply antiquing gel with a soft brush to crevices, edges, and any recessed areas where dirt might accumulate. This darkens these areas, adding visual depth.
Buff Excess: Use a clean paper towel to gently buff the raised areas, leaving the antiquing gel primarily in the recesses.
Step 3: Simulating Battle Damage
Cuts and Dents: Carefully use a sturdy knife to create small cuts and dents on the armor’s surface. Avoid cutting into stitching, as this could weaken the piece.
Apply Black Gloss Paint: Use a small amount of gloss black paint to mimic oily grime in the same recessed areas. The gloss finish gives a realistic, slightly greasy look. Mix paint with antiquing gel or leather dye for added effect if needed.
Step 4: Creating Fresh Scuffs and Highlights
Scuff with 80-Grit Sandpaper: Focus on high-contact areas like edges and corners, rubbing the sandpaper to create natural-looking highlights.
Add New Cuts: Make additional cuts to simulate recent scratches and scrapes. This layering adds authenticity to the “battle-damaged” effect.
Step 5: Detailing
Paint Highlights on Black Sections: Use a light-colored paint to add subtle abrasions and scratches to any black-dyed areas, blending lightly for a natural look.
Optional Repair Details: For a “repaired” look, cut some stitching, then re-stitch with a different colored thread to show past fixes. This small detail adds history to your armor.
Step 6: Flexibility Modification (Optional)
For gauntlets or bracers, cut small sections to improve flexibility if needed. Trim rough edges and reapply antiquing gel to any raw leather to match the weathered look.
Rather watch a video?
In this tutorial, Zan from Fell & Fair shows you some simple DIY steps to weather leather armour to make it look realistic, worn and battle damaged. These techniques are useful for adding detail to costumes for LARP, cosplay, theatre and film.
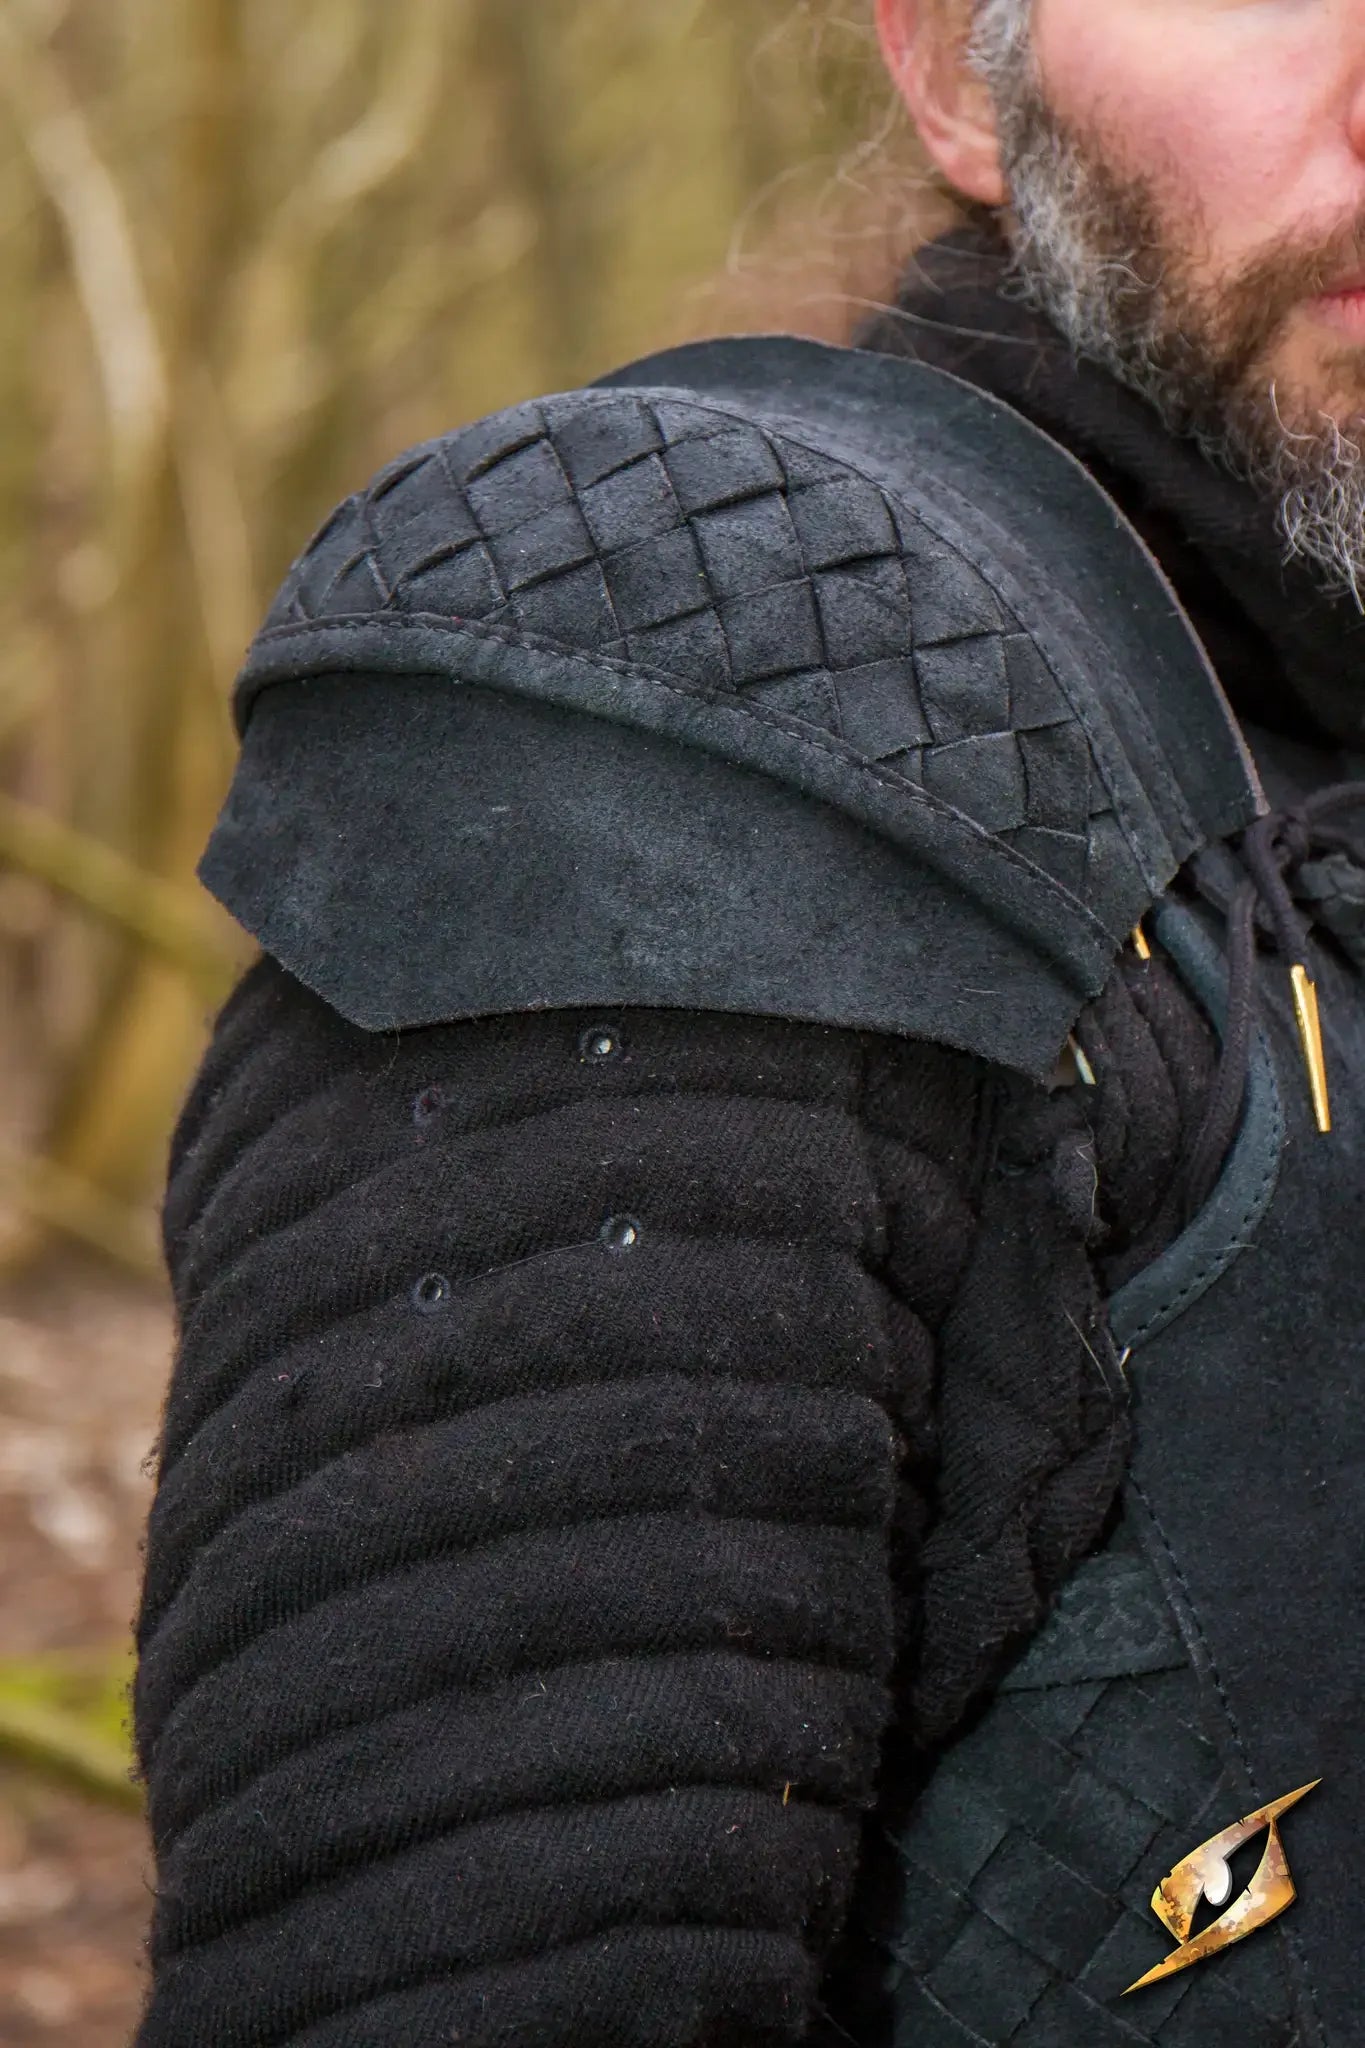
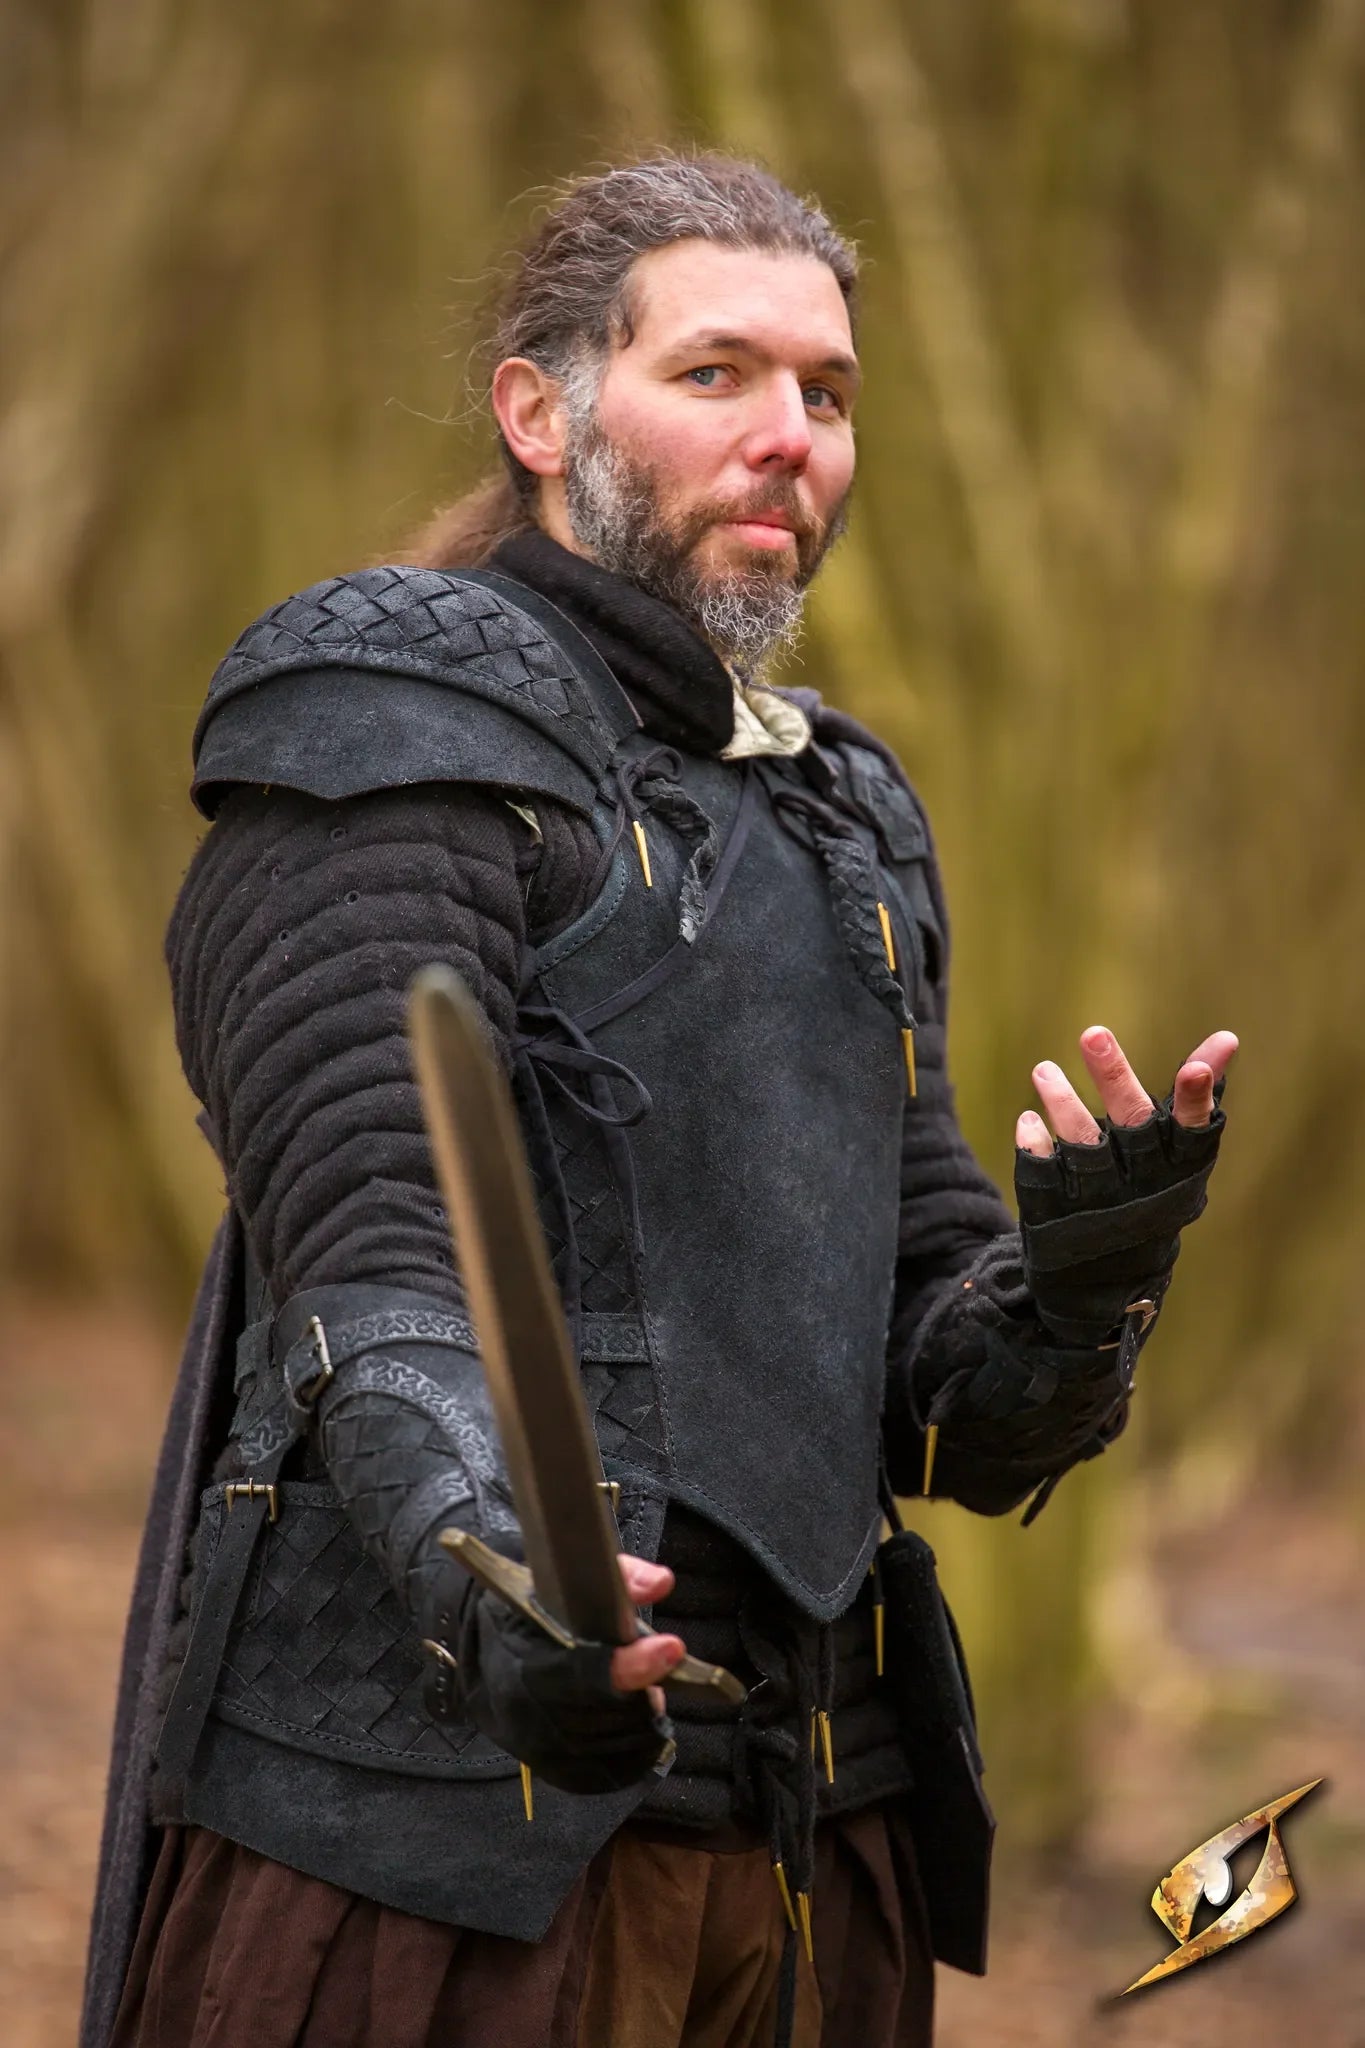
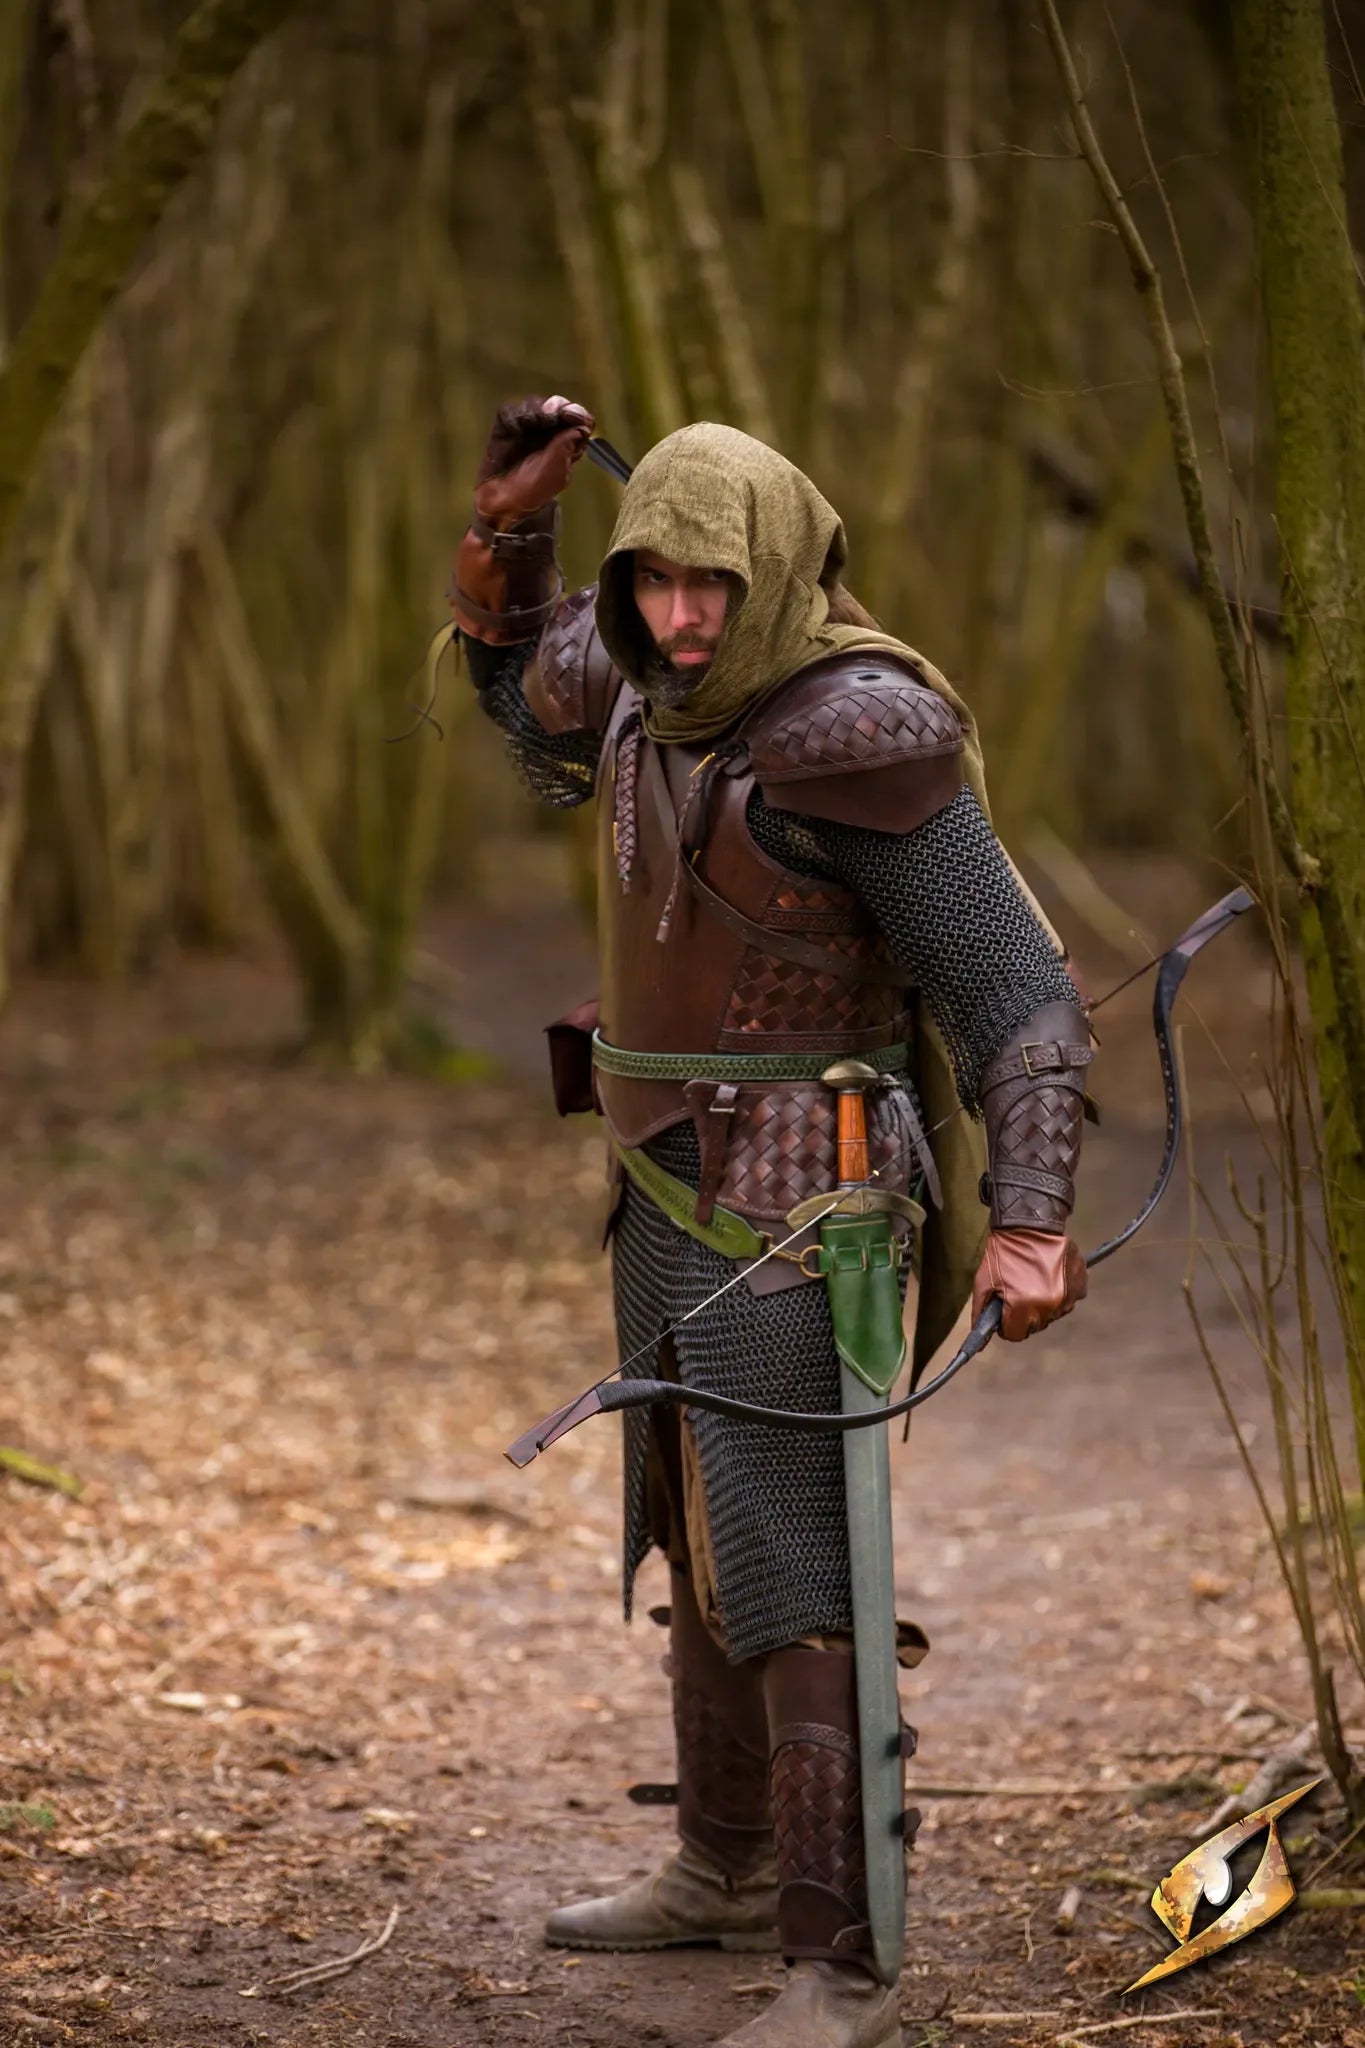
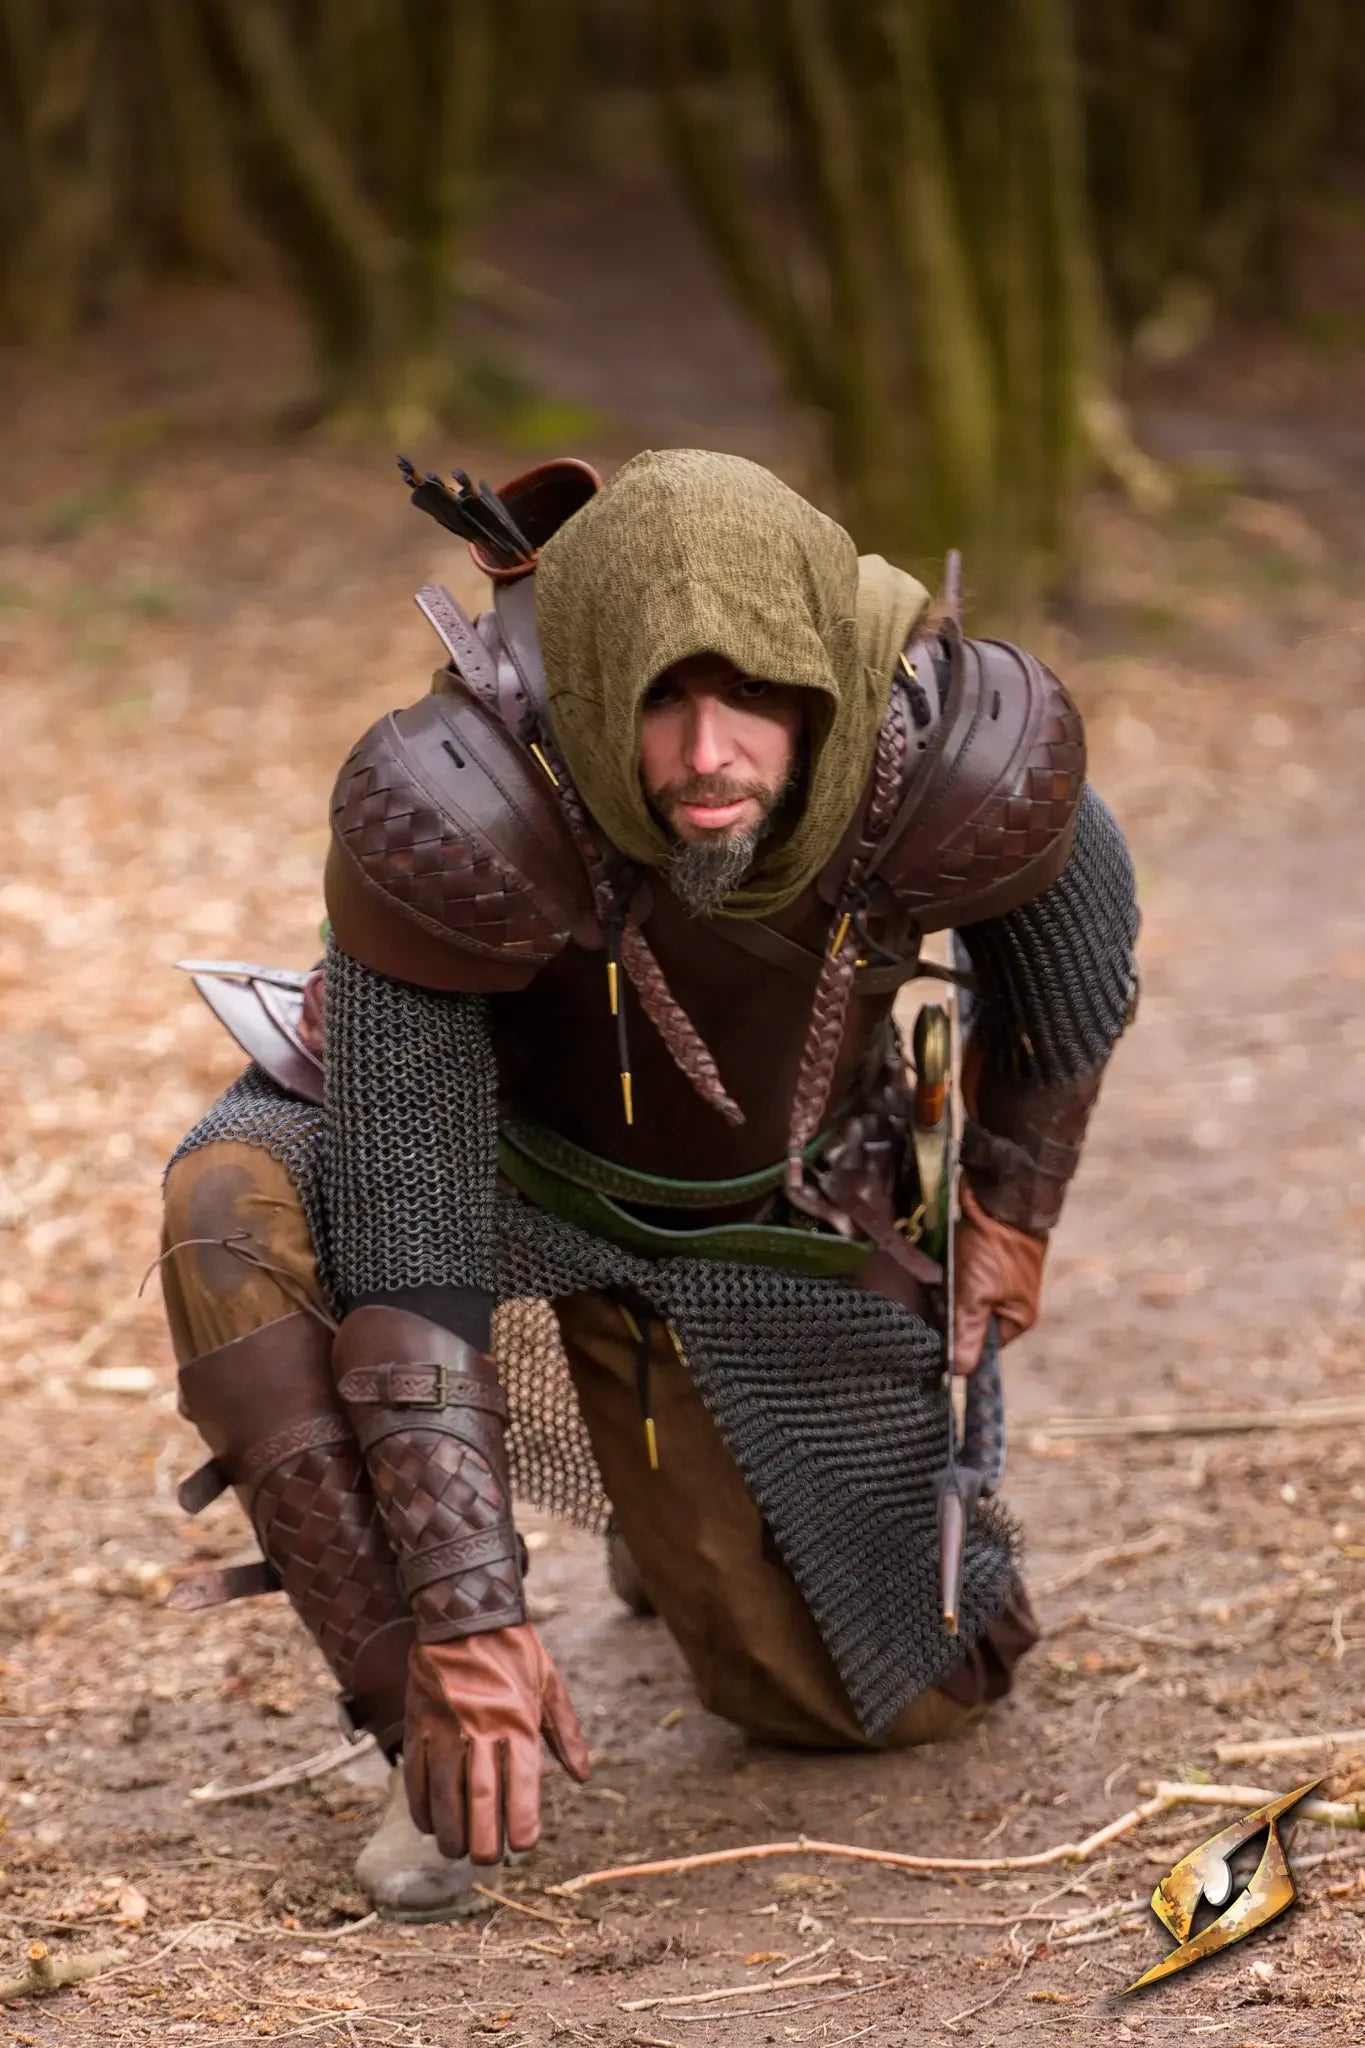
Leather armour


Read more

Romance, longing, crushes, and emotional drama are not side quests in LARP. They are often the main story. When played well, romance creates some of the strongest memories players take home. When p...
Read more
5 Easy Ways to Customise Your Yoremade Gear
Whether you're gearing up for your first event or looking to breathe new life into a well-loved set, these five techniques will help you build a look that feels genuinely unique. Best of all, none ...
Read more